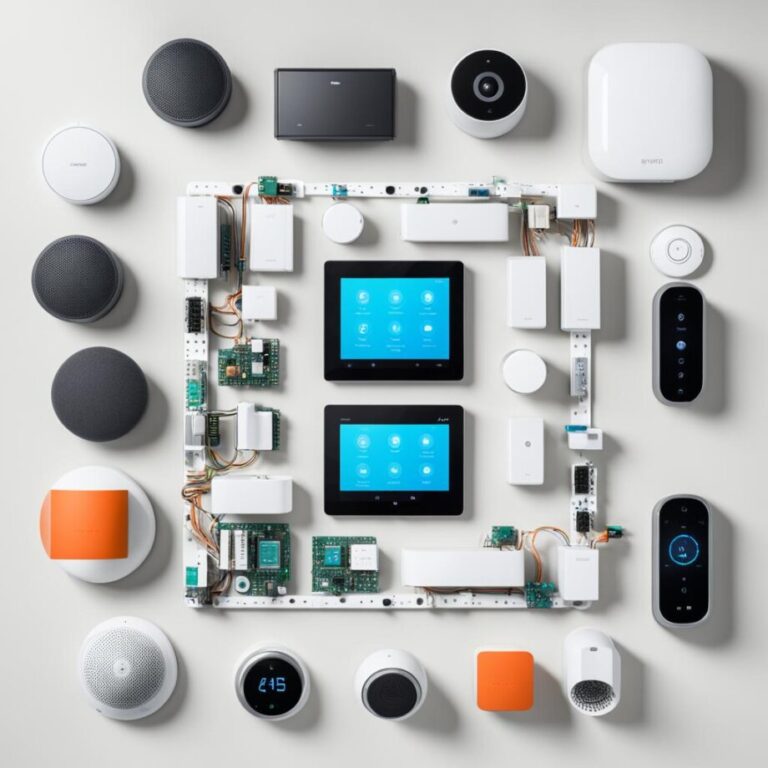
Welcome to our beginner’s tutorial on setting up a home surveillance system. Are you curious about how you can protect your home and loved ones from potential threats? Ever wondered if you could improve your current security setup without hiring professionals? If so, you’re in the right place! Our step-by-step guide will equip you with the essential knowledge and instructions to create an effective home surveillance system tailored to your needs.
With crime rates on the rise, it’s important to take proactive measures to secure your space. Whether you’re a homeowner or a renter, implementing a home surveillance system can provide peace of mind and act as a deterrent to potential intruders. In this tutorial, we will demystify the process of setting up a home surveillance system, breaking it down into simple, manageable steps.
From understanding the basics of home security to choosing the right cameras, configuring your system, and maintaining it for optimal performance, we’ve got you covered. We will walk you through everything you need to know, ensuring that even if you’re new to the world of home security, you’ll be able to set up your system with confidence.
Ready to enhance your home’s security? Let’s get started with the basics of home surveillance.
Understanding the Basics of Home Surveillance
Before diving into the setup process, it is crucial to understand the basics of home surveillance. Having a strong foundation in home security is essential for creating an effective and reliable surveillance system. In this section, we will cover the fundamental concepts of home security, including the importance of surveillance systems, different types of security cameras, and key factors to consider when choosing the right system for your needs.
The Importance of Surveillance Systems
Home surveillance systems are designed to provide enhanced security and peace of mind. By installing a surveillance system, you can deter potential intruders and protect your property, belongings, and loved ones. Surveillance cameras act as a visible deterrent, as well as provide valuable evidence in the event of a break-in or other security incidents.
With advancements in technology, modern surveillance systems offer features like live video monitoring, motion detection, and remote access, allowing you to monitor your home from anywhere at any time. These systems can be customized to fit the unique security needs of your property, providing you with the flexibility and control you desire.
Types of Security Cameras
When it comes to surveillance cameras, there are various types available on the market. Each type caters to different security needs and environments. Understanding the different camera options will help you make an informed decision based on your requirements.
Here are some common types of security cameras:
- Dome Cameras: Dome cameras are popular due to their discreet design and 360-degree coverage. These cameras are commonly used indoors and can be easily mounted on ceilings.
- Bullet Cameras: Bullet cameras are slim and cylindrical in shape. They are typically used for outdoor surveillance and provide a focused view of specific areas.
- PTZ Cameras: PTZ (Pan-Tilt-Zoom) cameras offer remote control capabilities, allowing you to pan, tilt, and zoom to capture specific details or areas of interest.
- Wireless Cameras: Wireless cameras provide flexibility in terms of installation as they do not require physical cables for connectivity. They are a suitable option for properties where it’s difficult to run wires.
Key Factors to Consider
When choosing a home surveillance system, several factors should be taken into account to ensure you select the right one for your needs. Below are some essential considerations:
- Area Coverage: Assess the size of the area you want to monitor and choose cameras with appropriate field of view and focal length.
- Resolution: Higher resolution cameras provide clearer and more detailed footage. Consider the resolution you require based on your security objectives.
- Low Light Performance: Look for cameras with good low light capabilities if you want to capture clear images even in poorly lit areas.
- Compatibility: Ensure the surveillance system you choose is compatible with other security devices you may have or plan to add in the future.
- Budget: Set a budget for your home surveillance system and look for options that provide the best value within your allocated budget.
By understanding the basics of home surveillance, you’ll be well-equipped to make informed decisions when setting up your own system. In the next section, we will guide you through the process of assessing your security needs to determine the optimal setup for your property.
Assessing Your Security Needs
Before you start setting up your home surveillance system, it’s crucial to assess your security needs to ensure optimal coverage and protection. By evaluating your property and identifying vulnerable areas, you can determine the number and placement of cameras required to effectively secure your space.
Here are the key steps to assess your security needs:
- Evaluate your property: Take a walk around your home and identify areas that are most susceptible to break-ins or security threats. This may include entrances, windows, backyards, or driveways.
- Identify vulnerable areas: Determine the specific spots where potential intruders could gain unauthorized access or where valuable possessions are located. These areas should be given priority when determining camera placement.
- Consider your coverage requirements: Think about the extent of surveillance coverage you need. Are you looking to monitor just the exterior, or do you need coverage inside your home as well? Understanding your coverage requirements will help you determine the number of cameras you need.
- Assess lighting conditions: Take note of the lighting conditions around your property, both during the day and at night. This will help you choose cameras with appropriate low-light capabilities or consider installing additional lighting for better visibility.
Once you have completed the assessment, you will have a clearer understanding of your specific security needs. This information will guide you in selecting the right type of home security cameras and their optimal placement to ensure comprehensive surveillance coverage.

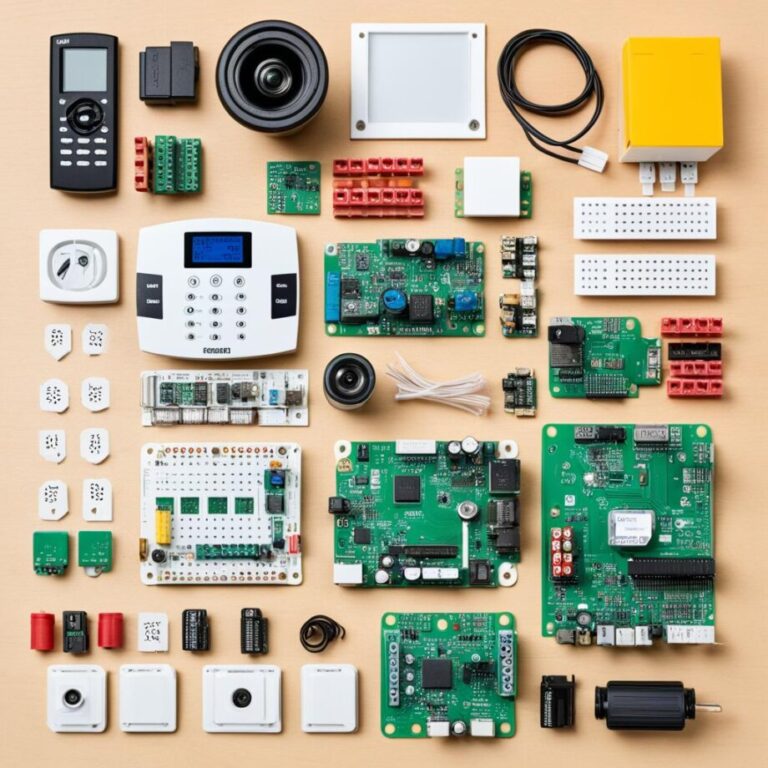
Choosing the Right Security Cameras
When it comes to setting up a home surveillance system, selecting the right security cameras is crucial for ensuring effective monitoring and protection. With a wide range of options available in the market, it’s essential to understand the different types of cameras, their features, and the factors to consider when making your purchase decision.
To help you make an informed choice, here is a breakdown of the key camera types commonly used in home security:
| Camera Type | Features | Best for |
|---|---|---|
| Dome Cameras | 360-degree coverage, vandal-resistant design | Indoor or outdoor surveillance |
| Bullet Cameras | Long-range night vision, weatherproof housing | Outdoor monitoring |
| PTZ Cameras | Pan, tilt, zoom capabilities for flexible coverage | Large areas or specific points of interest |
| Wireless Cameras | Easy installation, flexible placement options | Areas without convenient wiring access |
| Indoor Cameras | Compact, discreet design for indoor use | Monitoring indoor spaces like living rooms or bedrooms |
Consider the following factors when choosing the right security cameras for your home:
- Resolution: Higher resolution cameras capture more detailed footage, enhancing identification capabilities.
- Field of View: Determine the coverage area required and choose cameras with appropriate lens types, such as wide-angle or zoom lenses.
- Night Vision: If you need to monitor your property during the night, opt for cameras with infrared (IR) or low-light capability.
- Weather Resistance: Outdoor cameras should be weatherproof and able to withstand extreme temperatures.
- Power Supply: Decide between wired cameras that require a power outlet or wireless cameras powered by batteries or solar panels.
- Integration: Check if the cameras are compatible with your chosen recording device, such as a DVR or NVR.
- Cost: Set a budget and evaluate cameras that offer the best combination of features within your price range.
By considering these factors and understanding the various camera types available, you can choose the security cameras that best suit your needs and provide reliable surveillance for your home.
Expert Tip:
When selecting security cameras, prioritize quality and reliability over cost. Investing in high-quality cameras ensures long-term performance and accurate monitoring of your property.
Now that you have a better understanding of the different types of security cameras and the factors to consider, you can proceed to the next step of setting up your home surveillance system with confidence.
Setting Up Your DVR or NVR
After selecting your security cameras, the next step is to set up your DVR (Digital Video Recorder) or NVR (Network Video Recorder). This section will walk you through the process of connecting your cameras to the recording device, configuring settings, and ensuring smooth communication between the components of your system.
Connecting Your Cameras
The first step in setting up your DVR or NVR is to connect your security cameras. Here’s a step-by-step guide:
- Locate the video output ports on your cameras and the corresponding input ports on your DVR or NVR.
- Using appropriate cables (such as BNC or Ethernet cables), connect each camera to the input ports on the recording device.
- Ensure a secure connection by firmly attaching the cables to the ports.
Once you have successfully connected your cameras to the DVR or NVR, you can proceed to configure the settings for your surveillance system.
Configuring Settings
In order to optimize the performance of your DVR or NVR, it’s important to configure the settings according to your specific requirements. Here are the key settings you’ll need to consider:
- Camera Resolution: Adjust the resolution settings to determine the quality of the recorded footage. Higher resolution settings result in clearer images, but require more storage space.
- Recording Schedule: Set up a recording schedule to determine when your surveillance system should record. This ensures that you capture important events while conserving storage space during periods of inactivity.
- Storage Management: Configure how the DVR or NVR handles storage, such as overwriting old footage when the storage capacity is reached, or automatically backing up recordings to an external device.
- User Access Control: Create user accounts with specific access privileges to ensure that only authorized individuals can access the surveillance system settings and recorded footage.
By customizing these settings, you can tailor your surveillance system to meet your specific needs and optimize its functionality.
Smooth Communication Between Components
For your surveillance system to operate seamlessly, you need to establish smooth communication between the components. Consider the following steps:
- Ensure all the connected cables are securely fastened to the DVR or NVR, cameras, and power sources.
- Power on your DVR or NVR and cameras.
- Access the system’s interface using a monitor or a connected device (such as a computer or smartphone) to verify that the cameras are successfully transmitting the video feed to the recording device.
- If necessary, adjust camera positions and angles to achieve the desired coverage and optimize video quality.
Properly establishing communication between the components is crucial for ensuring that your surveillance system is fully operational and ready to protect your home.
Now that you have successfully set up your DVR or NVR and configured its settings, you can move on to the next step in setting up your home surveillance system—positioning and angling your cameras for optimal coverage.
Configuring Camera Positions and Angles
Proper positioning and angling of your security cameras are crucial for optimal surveillance coverage. By strategically placing your cameras, you can maximize the field of view, avoid blind spots, and capture clear footage. Here are some expert tips to help you configure your camera positions effectively.
Determining the Best Locations
When determining the locations for your security cameras, it’s important to consider vulnerable areas of your property. These can include entry points such as doors and windows, as well as high-value areas like the front yard, backyard, or basements. Assessing these areas will help you identify the most critical places to install your cameras.
Additionally, it’s important to consider any potential obstructions that may hinder the camera’s view. Make sure to clear away any objects or vegetation that may block the camera’s line of sight.
Maximizing the Field of View
To maximize the field of view, consider the camera’s viewing angle. Most security cameras come with wide-angle lenses that provide a broader coverage area. By strategically positioning your cameras, you can ensure that each camera covers the necessary area without any blind spots. Remember to angle the camera slightly downward to capture more facial features of potential intruders.
Avoiding Blind Spots
Avoiding blind spots is crucial to ensuring comprehensive surveillance coverage. To minimize blind spots, place your cameras in a way that overlaps their fields of view. This overlapping coverage will ensure that there are no areas left unmonitored. Pay attention to corners and obstructions that may create blind spots and adjust the camera positions accordingly.
Expert Tip: Consider installing additional cameras in areas where blind spots are unavoidable. This can provide backup coverage and ensure that no area goes unmonitored.
It’s also important to position your cameras at an optimal height. Ideally, the camera should be mounted at a height of 9-10 feet to capture clear footage without being easily tampered with.
By following these tips and taking the time to configure your camera positions and angles correctly, you can ensure that your home security camera system provides the best possible surveillance coverage for your property.
Wiring and Cable Management
Proper wiring and cable management are essential for a clean and organized installation of your home surveillance system. In this section, we will guide you through the process of running cables, concealing wires, and managing the overall cable infrastructure to ensure a professional-looking setup.
When installing your CCTV cameras, it’s crucial to plan the routing of cables beforehand. Consider the distance between cameras, the location of your DVR or NVR, and any obstacles that may require additional cabling. By mapping out the cable routes, you can avoid unnecessary clutter and potential issues down the line.
Here’s a step-by-step guide to help you with the wiring and cable management process:
- Identify the optimal locations for your cameras based on the coverage required.
- Measure the distances between cameras and the DVR or NVR to determine the cable lengths you’ll need.
- Choose the appropriate cables for your surveillance system. Consider factors such as durability, weather resistance, and transmission quality.
- Run the cables through attics, walls, or conduits to conceal them and minimize their visibility. Use clips or cable management solutions to secure the cables neatly along walls and ceilings.
- Label each cable end with the corresponding camera or DVR/NVR port for easy identification during installation and troubleshooting.
- Ensure proper grounding of your surveillance system to protect against power surges and electrical damage.
Recommended Cable Management Solutions
There are several cable management solutions available to help you achieve a tidy and organized installation. Here are a few options:
| Cable Management Solution | Features |
|---|---|
| Cable Raceway | Easy installation, concealment of cables in a channel, paintable to match wall color |
| Cable Clips | Securely hold cables along walls or ceilings, adhesive backing for easy installation, reusable |
| Cable Ties | Used for bundling and organizing cables, adjustable, available in various sizes and materials |
| Wire Loom Tubing | Protects cables from damage, flexible, easy installation, comes in different diameters |
By utilizing these cable management solutions, you can ensure that your wiring is organized, protected, and visually appealing. This not only enhances the aesthetics of your surveillance system but also facilitates future maintenance and troubleshooting.
Powering Your Cameras
Powering your cameras effectively is crucial for maintaining their continuous operation. In this section, we will explore various power options for your security camera setup, including both wired and wireless setups. Follow the detailed instructions below to ensure a seamless power supply to your cameras.
Wired Power Setup
- Power Outlet Connection: Start by identifying the nearest power outlets to each camera location. Ensure that there is a dedicated power outlet available for each camera.
- Run Power Cables: Measure the required length of power cables and run them from the cameras to the corresponding power outlets. It is recommended to use high-quality, UL-listed power cables for safety and durability.
- Secure Cable Connections: Use cable clips or adhesive clips to secure the power cables along the walls or ceilings, keeping them neat and organized. This will prevent accidental disconnections and tripping hazards.
- Connect Cameras: Connect the power cables to the cameras, ensuring a secure and snug fit. Double-check that the connections are tight to avoid any power supply interruptions.
- Plug into Power Outlet: Plug the other end of each power cable into its respective power outlet. Make sure the outlets are easily accessible for future maintenance and troubleshooting.
Wireless Power Setup
If you prefer a wire-free installation, wireless power options provide convenient alternatives for powering your cameras. One such option is the use of rechargeable batteries or solar panels. Follow the steps below for a wireless power setup.
- Battery/Solar Panel Selection: Choose high-quality rechargeable batteries or compatible solar panels specifically designed for your camera model. Refer to the camera manufacturer’s recommendations for optimal battery or panel selection.
- Install Batteries/Solar Panels: Depending on your camera model, install the batteries or mount the solar panels in an area that receives sufficient sunlight. Ensure a secure and stable installation to withstand various weather conditions.
- Connect to Cameras: Follow the camera manufacturer’s instructions for connecting the batteries or solar panels to your cameras. This may involve plugging in connectors or installing compatible power modules.
By following these instructions, you can power your cameras efficiently, ensuring continuous operation for your DIY home surveillance system.
Tip: If you opt for a wireless power setup, regularly monitor the battery levels or solar panel efficiency to avoid any power depletion. Consider investing in additional batteries for seamless swapping when needed.
Comparison of Wired and Wireless Power Options
| Power Option | Advantages | Considerations |
|---|---|---|
| Wired Power |
|
|
| Wireless Power |
|
|
Choose the power option that aligns with your specific requirements and preferences. Whether you opt for a wired or wireless setup, ensure a reliable power source for your cameras to maintain the effectiveness of your DIY home surveillance system.
Network Configuration and Remote Access
Enabling remote access to your home surveillance system is crucial for convenient monitoring of your property from anywhere. In this section, we will guide you through the network configuration process, allowing you to set up secure remote access to your system.
To begin, you need to set up port forwarding on your router. Port forwarding allows external devices, such as your smartphone or computer, to establish a connection with your surveillance system over the internet.
Note: The exact process of setting up port forwarding may vary depending on your router’s make and model. It’s recommended to consult your router’s documentation or manufacturer’s website for detailed instructions.
Here are the general steps for configuring port forwarding:
- Access your router’s administration interface by entering its IP address in a web browser.
- Locate the port forwarding settings, which may be under the “Advanced” or “NAT” section of your router’s menu.
- Create a new port forwarding rule by specifying the following details:
- Protocol: Choose either TCP or UDP, or both if applicable.
- External port range: Enter the range of external ports you want to forward, e.g., 8000-8003.
- Internal IP address: Specify the local IP address of your surveillance system.
- Internal port: Enter the port number used by your surveillance system for remote access, usually 8000.
- Save the changes and exit the router’s administration interface.
Next, you’ll need to configure your device, such as a smartphone or computer, to access your surveillance system remotely. This involves downloading and installing a dedicated app or using a web interface provided by the surveillance system manufacturer.
Note: Make sure that your surveillance system supports remote access and check the manufacturer’s instructions for app or web interface compatibility.
Here’s how to configure your device for remote viewing:
- Download and install the app provided by your surveillance system manufacturer from your device’s app store.
- Open the app and follow the on-screen instructions to add your surveillance system. Typically, you’ll need to enter the system’s IP address or scan a QR code.
- Once added, you should be able to access your surveillance system remotely and view live footage or recorded videos.
With remote access set up, you can now monitor your home or property using your smartphone or computer, offering peace of mind and the ability to respond promptly to any potential security events.
Fine-Tuning Camera Settings and Alerts
To optimize the performance of your surveillance system, it’s essential to fine-tune camera settings and configure alerts. By adjusting various camera settings, such as resolution, frame rate, and motion detection, you can ensure that your system captures clear and actionable footage. Additionally, setting up alerts will allow you to receive timely notifications when any suspicious activity is detected.
Adjusting Camera Settings
When fine-tuning your camera settings, consider the following:
- Resolution: Adjust the resolution based on your needs and available storage capacity. Higher resolutions offer more detail but require more storage space.
- Frame Rate: Determine the desired frame rate to ensure smooth video playback. Higher frame rates result in smoother footage but require more storage and processing power.
- Motion Detection: Enable motion detection to minimize false alarms and only record when there is activity in the camera’s field of view. Adjust sensitivity levels to avoid capturing unnecessary footage.
Configuring Alerts
Configuring alerts will help you stay informed about any potential security breaches or suspicious activity. The two common types of alerts are email notifications and mobile notifications through dedicated apps. To configure alerts:
1. Email Notifications: Set up your surveillance system to send email notifications when motion is detected. Ensure that you provide the correct email address and configure the necessary settings within your system.
2. Mobile Notifications: Download and install the mobile app provided by your surveillance system’s manufacturer. Connect the app to your system and enable push notifications to receive instant alerts on your smartphone or tablet.
By fine-tuning camera settings and configuring alerts, you can optimize your surveillance system’s performance and receive prompt notifications about any suspicious activity. This allows you to take immediate action and ensure the security of your home.
| Camera Setting | Description |
|---|---|
| Resolution | Adjust the level of detail in your video footage |
| Frame Rate | Determine the number of frames captured per second |
| Motion Detection | Enable the camera to detect and record motion |
| Email Notifications | Receive alerts via email when motion is detected |
| Mobile Notifications | Get instant alerts on your smartphone or tablet |
Monitoring and Maintaining Your System
Once your home surveillance system is up and running, it’s crucial to keep a close eye on its performance and regularly maintain it to ensure its long-term functionality. Follow these essential tips for effective system monitoring:
- Frequent checks: Regularly inspect your system’s cameras, connectors, and cables for any signs of damage or tampering. Ensure that all components are securely mounted and in optimal working condition.
- Review recorded footage: Set aside time to review the recorded footage from your surveillance system. Look for any suspicious activities, identify any blind spots or areas that need additional coverage, and adjust camera positions accordingly.
- Perform regular backups: Back up your recorded footage to an external storage device or the cloud to prevent data loss in case of any system malfunctions or incidents.
- Check system connections: Periodically inspect the connections between your cameras, DVR/NVR, and power supply. Ensure that all cables are securely plugged in and functioning correctly.
- Verify network connectivity: Test the network connectivity of your surveillance system to ensure remote access functionality. Review any firewall or network configurations to prevent any potential issues with accessing your system from outside your home network.
- Update firmware: Regularly check for firmware updates for your cameras, DVR/NVR, and any associated apps or software. Keeping them up-to-date ensures that you have the latest security patches and performance enhancements.
- Replace batteries: If your cameras are battery-operated, keep track of their battery life and replace them as needed. Low batteries can lead to degraded performance and inadequate surveillance coverage.
By consistently monitoring, reviewing, and maintaining your home surveillance system, you can ensure that it functions optimally and provides you with the high-quality video footage you need to protect your property and loved ones.

Conclusion
Setting up a home surveillance system doesn’t have to be intimidating, especially with our beginner’s tutorial. By following the step-by-step instructions provided, you can master home security and protect your space effectively.
Invest in your peace of mind today and create a secure environment for yourself and your loved ones. With the knowledge gained from this tutorial, you’ll be equipped to assess your security needs, choose the right security cameras, set up your recording devices, and configure your system for optimal performance.
Remember, proper camera positioning, cable management, and power supply are crucial for your surveillance system’s success. Additionally, configuring alerts and remote access will allow you to monitor your property conveniently from anywhere.
Stay vigilant by fine-tuning camera settings, reviewing recorded footage, and performing regular maintenance tasks. By implementing these practices, you can ensure the long-term functionality of your system and enjoy the peace of mind that comes with a well-protected home.